

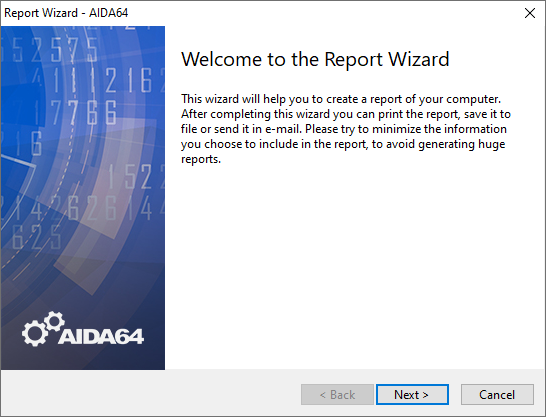
Report Wizard


With Report Wizard, we can easily create reports in AIDA64. Report Wizard can be started by clicking on the Report button on the toolbar or by selecting Report Wizard in the Report menu. Report Wizard follows the standard Windows wizard layout. The first page is a welcome page, then on the second page we can select the report profile we want to use. A report profile is no more than a list of those pages from the Page menu which will be included in the report. AIDA64 offers some predefined report profiles to let users quickly create standard report files, but it also allows us to create a custom report profile by selecting the pages we want to see in the report or loading a previously created custom profile.
Business products
These settings can be automated using command-line options. Using the switches /R, /E or /FTP, we can create full reports. We can also use custom reports if we add any of the following options after /R, /E or /FTP: /SUM, /HW, /SW, /BENCH, /AUDIT or /CUSTOM <path>.
Report profiles
All pages
This report profile includes all available pages from the Page menu, from Computer / Summary to Database / ODBC Data Sources. Although this profile offers the most information, it should be used with care as the resulting report file will be very large, typically over 2 MB in size. It is recommended to compress the report files in the long run to save storage space – especially if we use AIDA64 in a network of several hundred PCs.
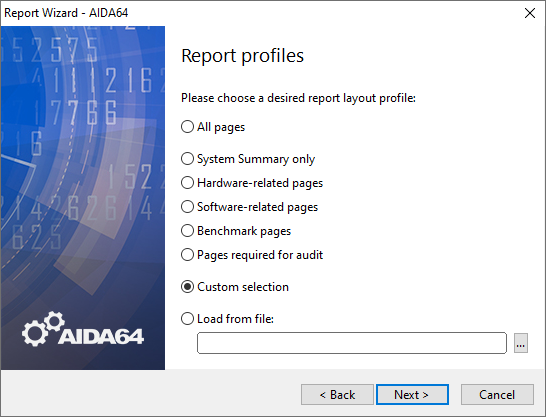
System Summary only
This profile includes only the Computer / Summary page in the report. It is useful if we want a quick summary of the hardware and the operating system and we do not need any further software information. It is possible to select the items we would like to see on the Summary page in Preferences / Summary.
Hardware-related pages
This profile includes all pages containing hardware configuration information. Hardware reports typically do not include any confidential information, except for motherboard and system serial number, IP and MAC addresses.
Software-related pages
This profile includes all pages containing software configuration information. Software reports typically include a great deal of confidential information and should be treated accordingly. We can exclude all software license information from the reports by using the /NOLICENSE command-line switch.
Benchmark pages
This profile includes all benchmark pages under the Benchmark category, that is the results of all memory and CPU benchmarks. If we select any of the subcategories in the Benchmark menu, we can hide reference results and/or user results by clicking the Results button on the toolbar.
Pages required for audit
This profile includes all pages required in the network audit and change tracking modules of AIDA64 (Audit Manager, Change Manager). Although this profile was designed with these AIDA64 services in mind, reports based on this report profile can be processed by 3rd party solutions as well to make similar network audit statistics. Pages included in this profile are typically short and are compiled quickly, resulting in small report files.
Custom selection
This option offers us a flexible way to compile a custom report profile, using the Custom report profile page of Report Wizard. Custom report profiles can be saved to a report profile file (with .RPF file extension) which can be used for automatic, command-line based report creation with the command-line option /R /CUSTOM <RPF file path>.
Load from file
This option offers us a quick way to load a previously created custom report profile (with .RPF file extension). The browse button can be used to select the file in Windows Explorer.
Report format
Here we can select the format in which we would like to save our reports. Available options are:
- Plain text
- HTML
- MHTML
- XML
- CSV
- MIF
- INI
- ADO (to be inserted in a database)
If we select ADO, the report will be inserted into an SQL database. Before using the SQL interface, SQL connection parameters have to be configured in Preferences / Database.
If we select this format, an ADO file will also be created, containing a message about the status of the report creation process. In case we want to receive such a message from each computer, we need to insert the path in the “Output folder” field in Settings / Report File, using the date variable at the end of the path (\\server\Shares\AIDA64Business\report\$DATE) and typing “$HOSTNAME” in the File name field.
After selecting the report format, we can start the report creation process by clicking “Finish”.
