

How to detect the real capacity of storage devices with AIDA64?


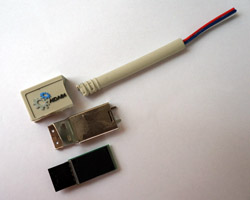
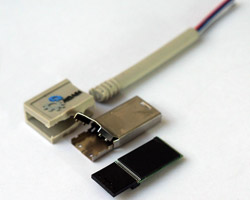
No matter how experienced a techie you are, it is almost impossible to recognize a fake storage device. You cannot judge a USB key by appearance, during our inquiry we have found fake units of various designs and capacities. What is also alarming is that you cannot trust the logos of big brands either as among the fake flash drives we have found there were many labeled Samsung, Kingston, Toshiba etc.
But you can always use AIDA64 as, since version 2.60, it is capable of detecting fake storage devices. After a quick check of the drive, it will tell us with 100% accuracy if we were deceived with a device having only a fraction of the advertized capacity or we were indeed lucky to get a cheap and functional drive.
AIDA64 vs. counterfeit flash drives
In AIDA64 v2.60 and later, there is a dedicated feature, which we can rely on in case we suspect to have bought a fake drive. Shady manufacturers usually use the same trick: they overwrite the true capacity with higher capacity in the controller chip software. Accordingly, the controller chip will report this fake capacity to the operating system which will see no problem at first: it will be able to perform write, read and even quick format operations with any file system.
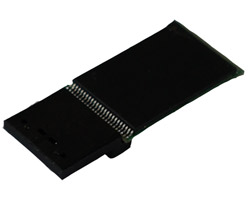
The problem is that the memory chips in the USB key do not have the capacity the controller chip wants to address. Instead, the real memory capacity is just a fraction of what the controller chip knows of. When we write to the USB key, the controller fills the memory cells sequentially from the very first sector, so the problem will not become visible until we reach the maximum capacity of the memory chips. Once you exceed the true capacity, you will start to see error messages as the controller starts to address non-existing memory cells to save data to.
Detecting the problem
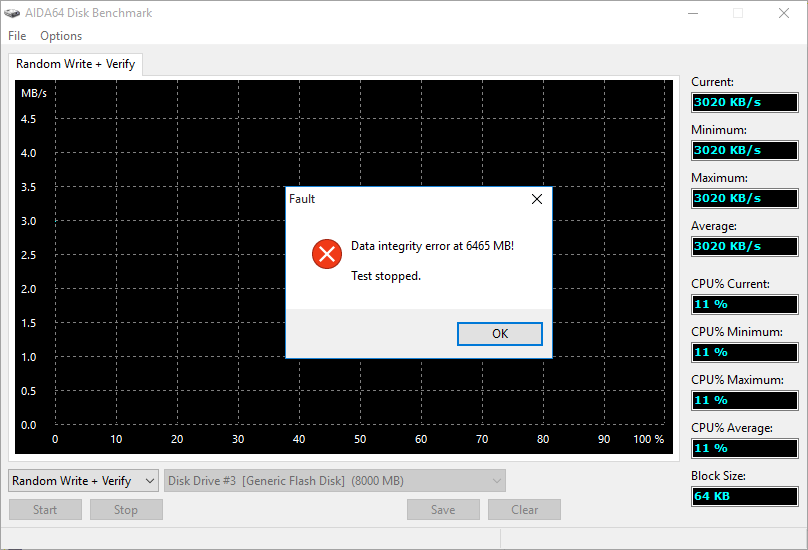
To test our USB key, let's launch AIDA64 and select Tools | Disk Benchmark in the main menu. Then in the Disk Benchmark window, navigate to Options / Write tests.
Caution! When performing write tests, all data will be lost on the USB key, and AIDA64 warns us three times of this when launching the process. So we had better backup all our data stored on the device before starting the test.
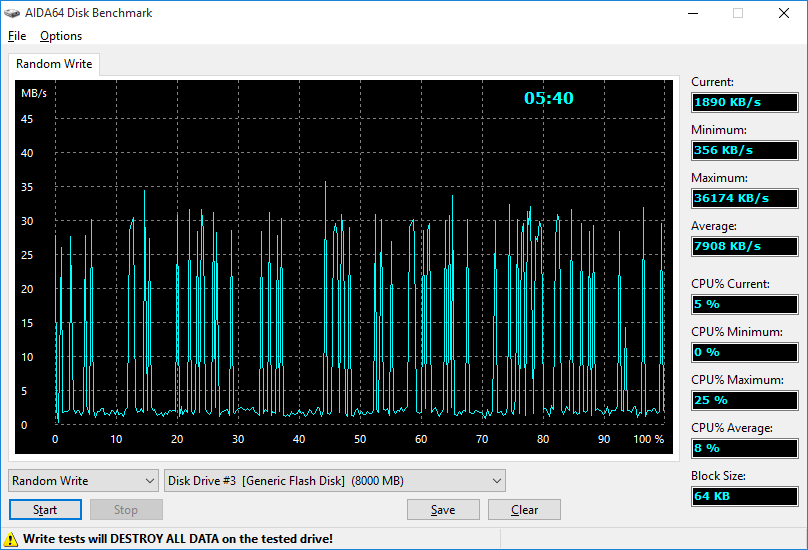
The method Linear test + Verify is the most thorough, but it also takes a long time. To speed up the process, select Random Write + Verify, which will try to write data to random memory cells. This way we will see in a few seconds if there are issues with our device. If we type a block size bigger than the default value in Options / Block size, we can further boost the speed.
Detecting the real capacity
If the USB key failed in the random write test, we will have to find out the real capacity of the drive and re-format it to its true capacity.
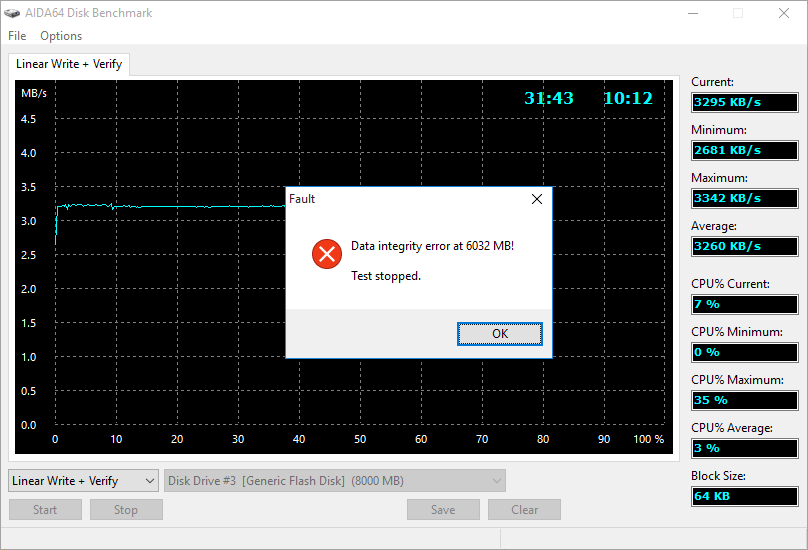
Here we are going to use AIDA64 Disk Benchmark again. Let's select the fake USB key in the drop down menu and select Linear Write + Verify this time. Then start the test and let it run until the first error message pops up. The capacity we will see in the error message is the true capacity of the memory chips installed on the USB key. In our example, it is 6032 MB which equals approximately 6 GB of usable storage space. Now we know the partition size we will have to use to make the USB key more reliable.
Reformatting the storage device
Our natural choice would be Disk Management in Windows, but there we cannot select less capacity than the drive's total capacity. So we will have to rely on the command-line program Diskpart, included in Windows, which can be launched by pressing WIN+R and typing “diskpart” in the “Run” window that pops up. We will need administrative privileges to run this program so if we have not logged in as administrator we have to run diskpart.exe as administrator by right-clicking the icon in the Taskbar and selecting this option.
Once diskpart.exe is running, type the following command. (In our example, we re-format a fake 8 GB USB key to its true capacity, which is 6 GB.)
Warning! All data will be deleted from the USB key. In the command, “X:” is the drive letter associated with the device.
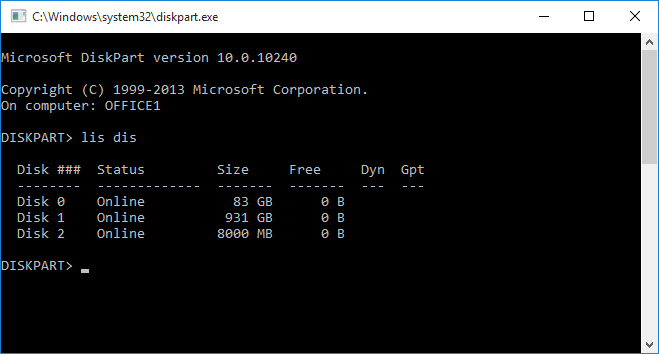
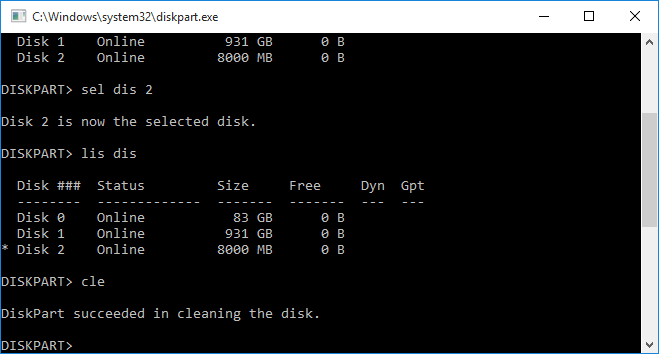
list disk
:: here the USB key is Disk 2
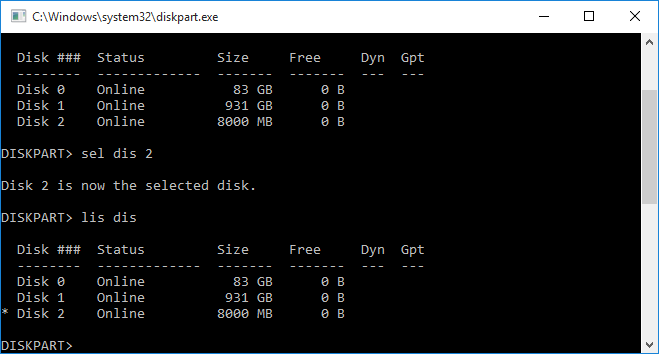
select disk 2
list disk
:: with typing the command list disk again, we can check if the appropriate disk is selected. The selected disk is marked with a *.
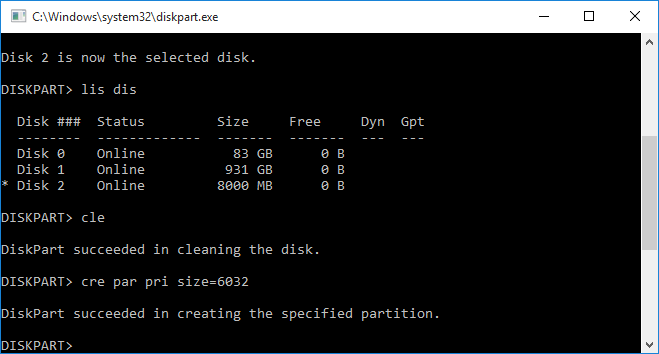
clean
:: this commands deletes all existing partitions
create partition primary size=6032
:: we set the partition size to the value we saw in the AIDA64 error message
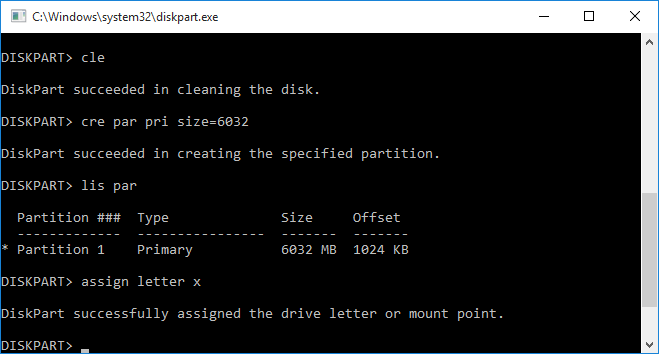
list partition
:: now we list the partitions. In the list, the selected partition is marked with a *. In case it is not selected, we can select it by typing: select partition 1
assign letter x
:: now we assign a letter to the partition so that we can access it
:: if Windows offers the option of formatting the drive, we can finish the process right away
format fs=fat32 label=AIDA64
:: if not, we can run this command, adding both the file system we want and the title of the disk
:: once formatting is completed, we can close the diskpart window
exit

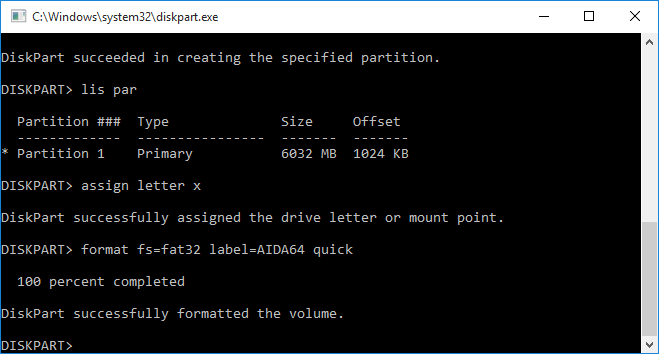
Using these commands, we have deleted the original fake 8 GB partition and created a 6 GB partition in its place, assigned the same letter to it and formatted it using FAT32. We can also select quick formatting by adding QUICK to the end of the command.